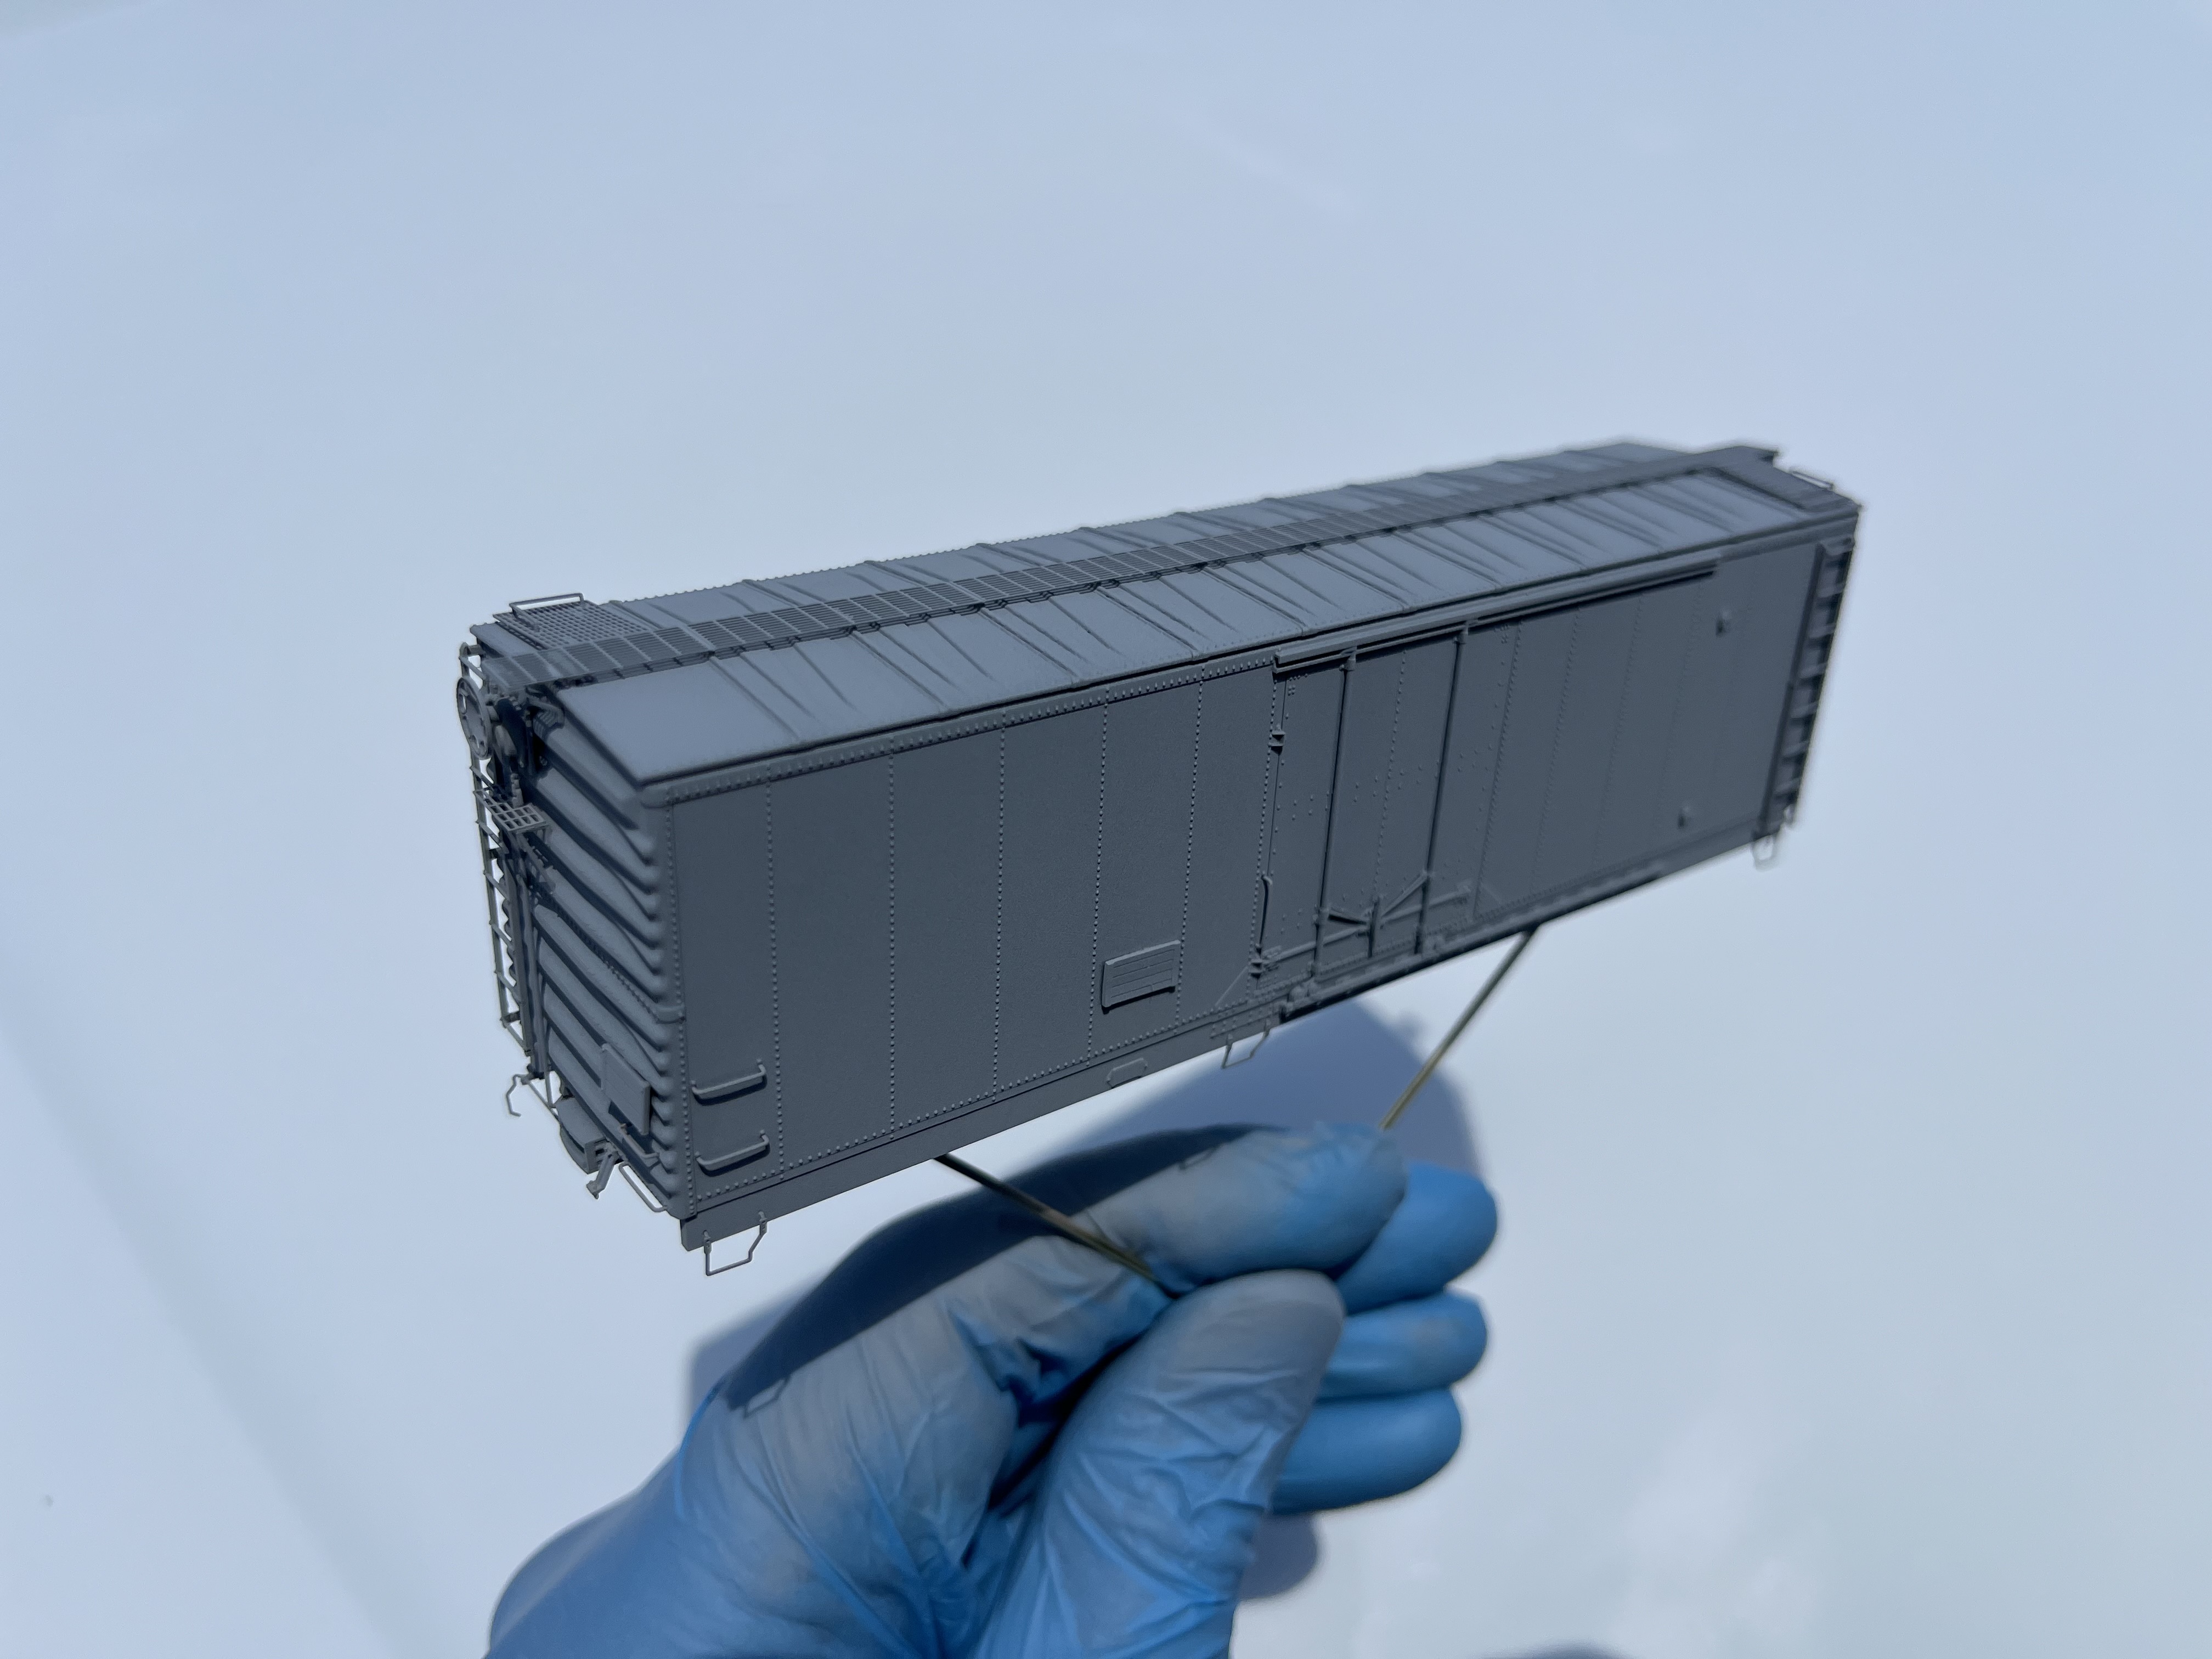
Construction of the Bridge Line Design / 3D Central PRR X54 is nearing completion with the addition of several additional details. This is a first foray into resin printed models for me and it has gone as smoothly as compared to working with the resin and styrene kits. I grit blasted the car body with baking soda shot through my Paasche air eraser to smooth out any layering, however, this is not detectable by touch and cannot be seen with the naked eye unless placed in an extreme light angle. Primer will eliminate this, so it should not be a deciding factor in your purchase. I followed the instructions and supplemented the kit supplied details with some additional after market parts that you may choose to add to your model.

Some of the take aways I've learned are to take extreme care when drilling into resin printed shells and use a sharp, preferably new bit. The B end of the car yielded a slight casualty when drilling for the brake wheel adjustment rod. The body contains an extant hole for the brass mounting point which I drilled using a #78 bit, which was then increased to a #70 bit. The thinness of the resin at the lower sill became an issue when I attempted to mount some 0.015" brass rod into the hole which ultimately broke. My intent was to install a clevis contained on a Detail Associates brake kit, using a drill and pin method, however, the resin failed and left a small hole. The images show the body filler used to fill in the void which will be sanded smooth and Archer Fine Details HO scale car rivets will be applied to compensate for the damaged lower sill.

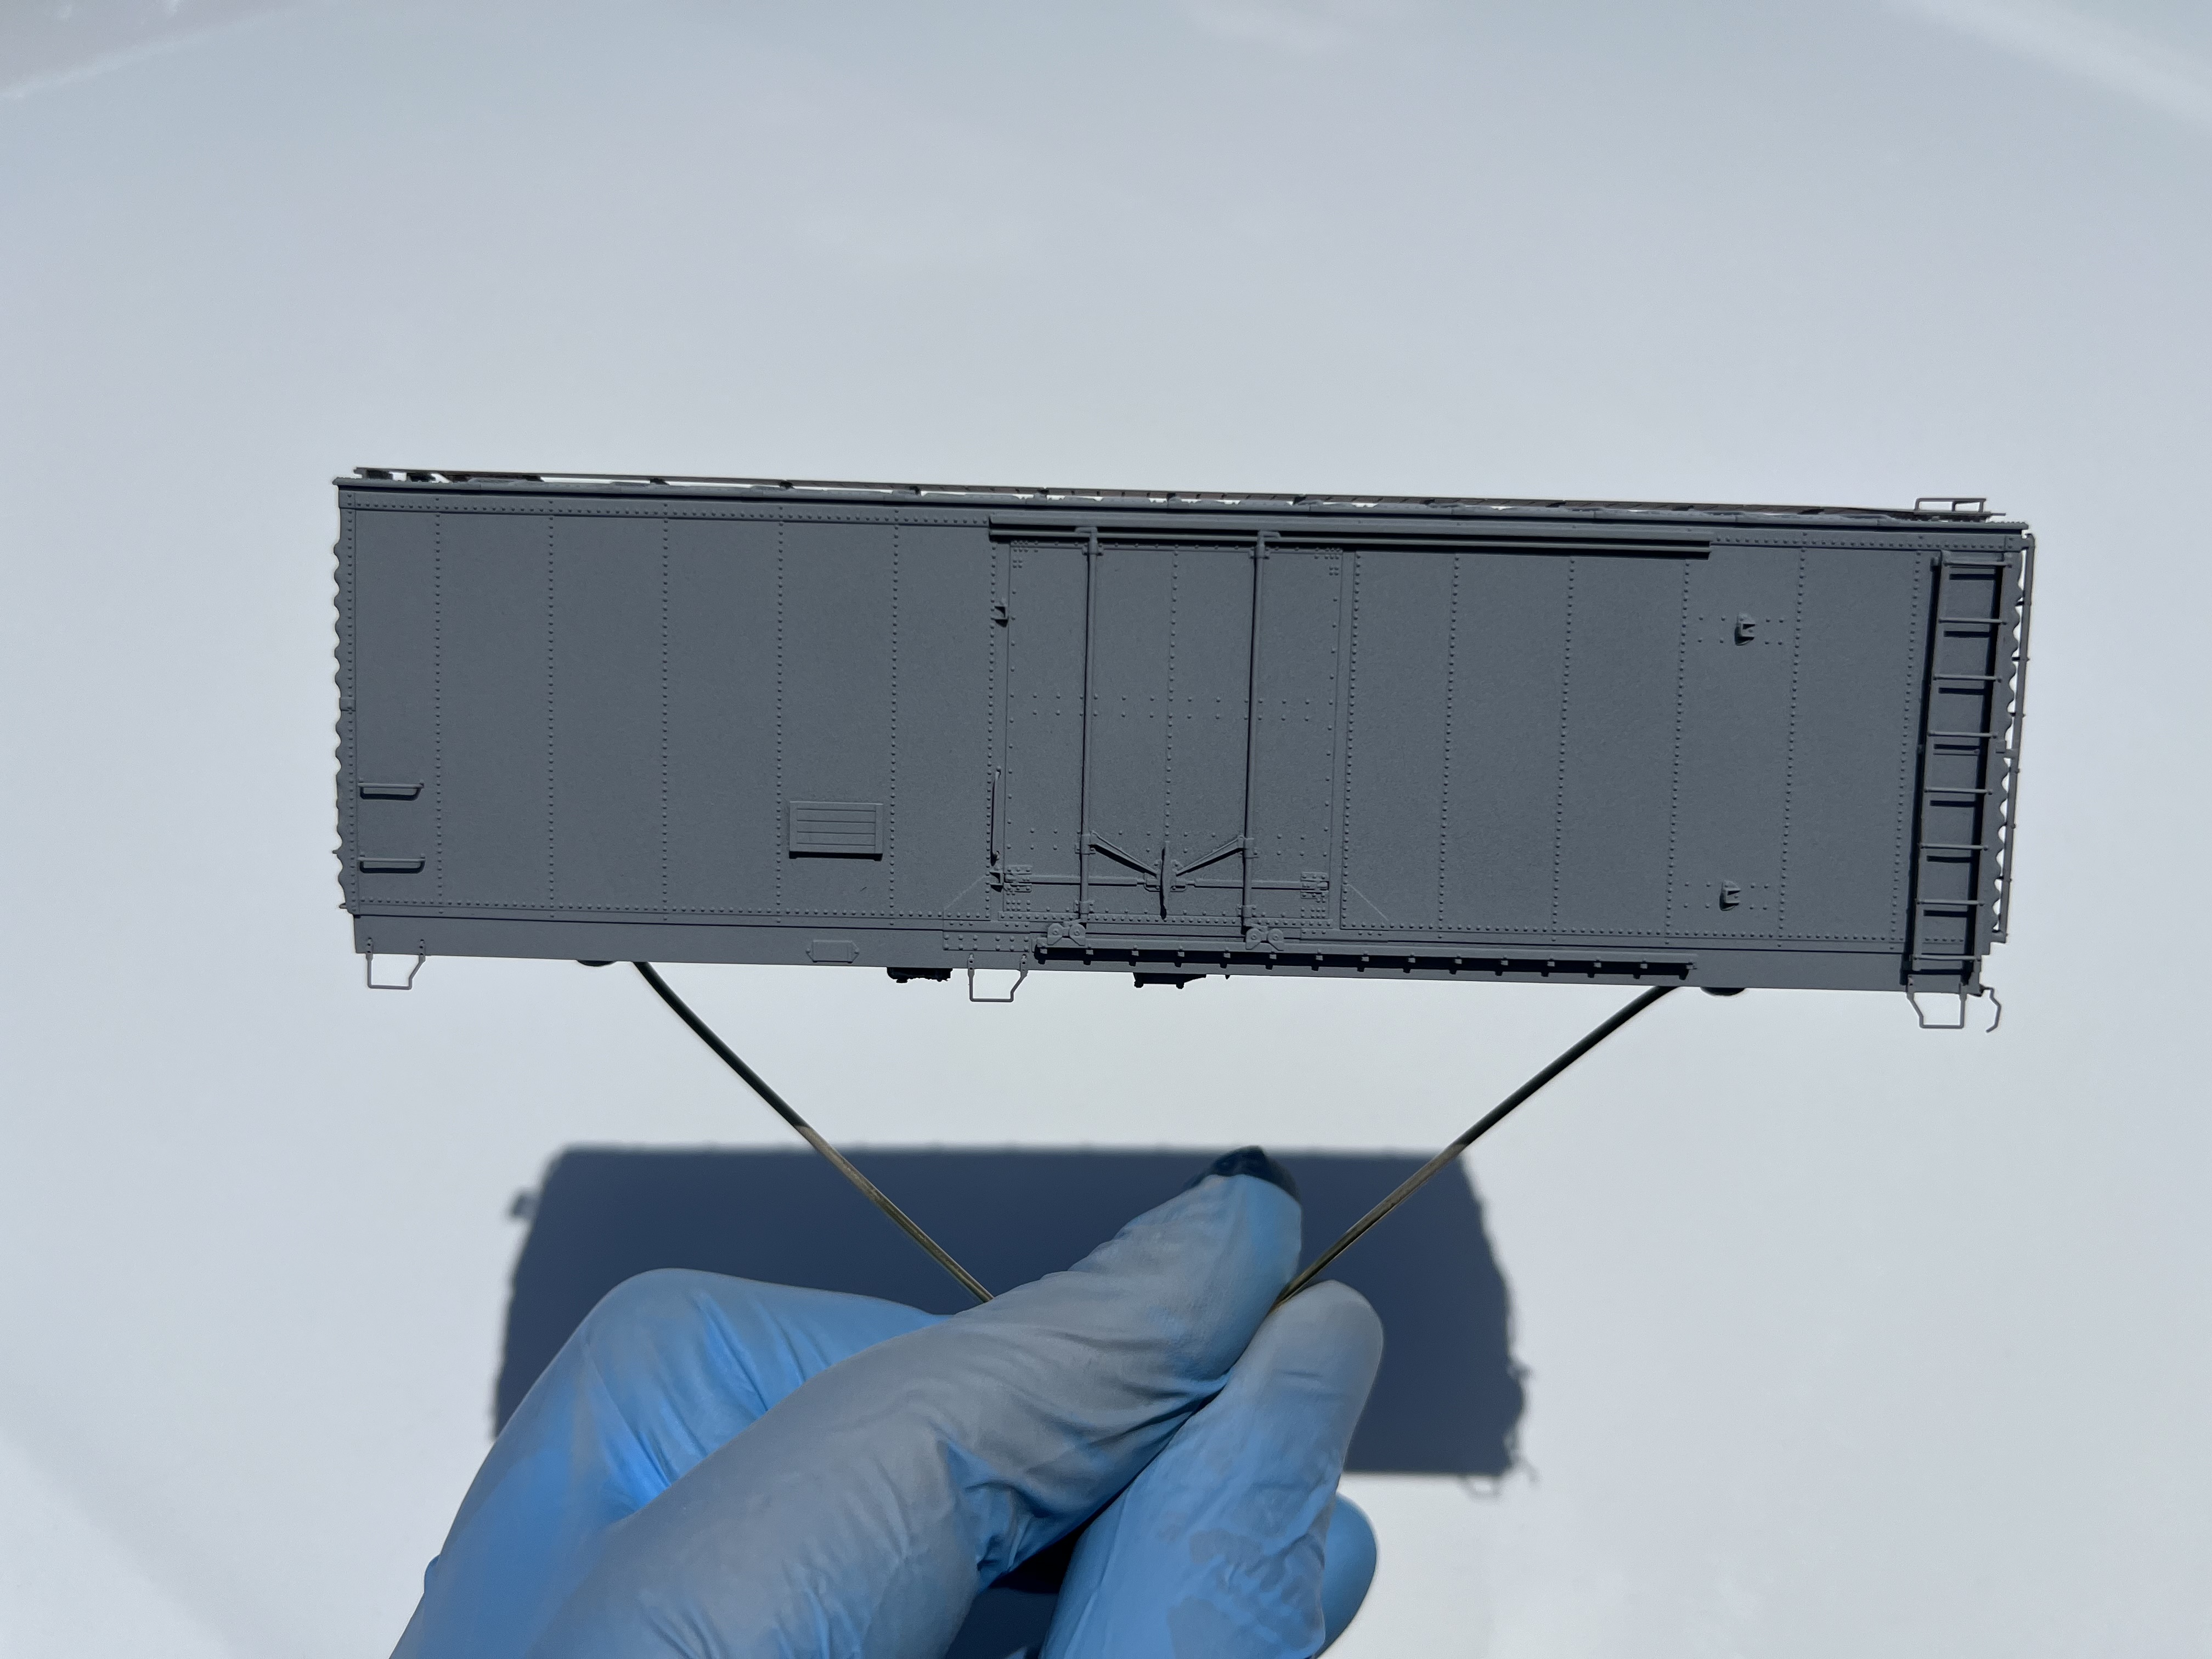
The X54 kit contains some useful parts, however, I supplemented Tichy brass rod for all of the grab irons which required some custom bending. The end tack boards of the prototype appear differently than that which is included in the kit, so I used some from the scrap box. The ladders were sourced from a Detail Associates 6241 set of 8 rung ladders on 16.25" centers. They are not exact and if I were to detail another kit, I would use the Tangent parts to best represent the PRR Sam Rea shops appliances best. The brake wheel and housing are a combination of Moloco and Kadee parts, while the Hi-Tech Details air hose details really set the end details off.
The brass stirrups are well executed, but the plane of the bottom step could be best represented if oriented parallel to the railhead such that the thinnest cross section can be seen. This is really splitting hairs, but something I feel could be represented by an additional bend on the brass fret. The running board was an exact fit and was cemented into place using canopy cement. I sanded both sides to remove traces from the etching process, applied canopy cement to the risers, and aligned the running board onto the center of the car. An additional lateral support using 2"x2" styrene lengths were applied to allow the laterals to stand proud of the roof.


The underframe has been minimally detailed and I am looking to source better parts to augment the existing details. The underframe is secured into place through the draft gear which is screwed to an interior support to allow for alignment. The non-cushioned draft gear has excellent key detail on the exterior. I really like this method of securing the body to the underframe. The underframe is riding on shop trucks for now, however, Bowser PRR 2D-F8 trucks will be used on the final model.


With the final details and some additional sanding on the ends, I think it will finally be ready for a coat of Floquil primer. Overall, the Bridge Line Designs X54 is an excellent kit to begin your journey into resin kit modeling, and with some additional refinement can be made into a show quality prototype model. If successful, I could certainly use a Penn Central example to cut into my block of insulated boxcars and RBLs, as well as expand the fleet with the newly released Bridge Line Designs 50' PRR X53 prototype used throughout the nation. I recently read a comment that bears repeating, "We are all PRR modelers," and isn't it the truth.